
自定義Toolbar實現簡潔標題欄
阿新 • • 發佈:2019-02-07
專案中,我們會大量的使用到標題欄,使用google推薦的toolbar,可以創造出使用簡便的簡潔標題欄.方便我們使用.
由於我們使用的標題欄大多需要標題居中顯示,而toolbar自帶的標題不是居中顯示,我們可以自定義toolbar佈局,解決這一問題.
自定義toolbar佈局
<android.support.v7.widget.Toolbar xmlns:android="http://schemas.android.com/apk/res/android"
android:id="@+id/toolbar_layout"
android:layout_width="match_parent" 我們建立一個佈局,裡面包含三個textview,分別在左側,右側和中間.
然後,我們建立自定義toolbar類,繼承自Toolbar.並將佈局載入.
public class CustomToolbar extends Toolbar {

    private TextView lefttext;
    private TextView titletext;
    private TextView righttext;

    private Toolbar toolbar;

    public CustomToolbar(Context context) {
        this(context, null);
    }

    public CustomToolbar(Context context, AttributeSet attrs) {
        this(context, attrs, 0);
    }

    public CustomToolbar(Context context, AttributeSet attrs, int defStyleAttr) {
        super(context, attrs, defStyleAttr);
        inflate(context, R.layout.view_customtoolbar,this);
    }
  }
這時,最基本的標題欄就已經做好了.在裡面的佈局已經可以顯示出來.我們需要根據自己的需求進去擴充套件.
比如:
可以自由設定背景色
可以只顯示標題欄,不顯示左右文字
可以將文字替換成圖片
可以響應點選事件
…
前面兩項都十分簡單,就略過了.
關於圖片文字自由更換,我的思路是需要設定圖片時,將文字置為空,設定textview的drawableLeft或者drawableRight.
 /**
     * 設定左側文字
     * @param text
     */
    public void setLeftText(String text) {

        lefttext.setVisibility(VISIBLE);
        lefttext.setText(text);

        //設定文字則不顯示圖片
        lefttext.setCompoundDrawables(null,null,null,null);

    }

    /**
     * 設定右邊文字
     * @param text
     */
    public void setRightText(String text) {

        righttext.setVisibility(VISIBLE);
        righttext.setText(text);

        //設定文字則不顯示圖片
        righttext.setCompoundDrawables(null,null,null,null);

    }


    /**
     * 設定左側圖片
     * @param id
     */
    public void setLeftImg(int id) {

        Drawable drawable = getResources().getDrawable(id);

        drawable.setBounds(0, 0, drawable.getMinimumWidth(), drawable.getMinimumHeight());

        //設定圖片則不顯示文字
        lefttext.setText("");

        lefttext.setCompoundDrawables(drawable,null,null,null);


    }


    /**
     * 設定右側圖片
     * @param id
     */
    public void setRightIcon(int id) {

        Drawable drawable = getResources().getDrawable(id);

        drawable.setBounds(0, 0, drawable.getMinimumWidth(), drawable.getMinimumHeight());

        //設定圖片則不顯示文字
        righttext.setText("");
        righttext.setCompoundDrawables(null,null,drawable,null);

    }
關於響應點選事件,則使用介面和回撥就可以解決.
    private TextView lefttext;
    private TextView titletext;
    private TextView righttext;

    OnLeftTextClickListener leftlistener;
    OnRightTextClickListener rightlistener;

 //左側文本回調介面
    public interface OnLeftTextClickListener {
        void onLeftTextClick();
    }

    /**
     * 設定左側文本回調
     * @param listener
     */
    public void setOnLeftTextClickListener(OnLeftTextClickListener listener) {
        this.leftlistener = listener;
    }

    //右側文本回調介面
    public interface OnRightTextClickListener {
        void onRightTextClick();
    }

    /**
     * 設定右側文本回調
     * @param litener
     */
    public void setOnRightTextClickListener(OnRightTextClickListener litener) {
        this.rightlistener = litener;
    }

.....

     @Override
    protected void onFinishInflate() {
        super.onFinishInflate();

        lefttext = (TextView) findViewById(R.id.toolbar_left);
        titletext = (TextView) findViewById(R.id.toolbar_title);
        righttext = (TextView) findViewById(R.id.toolbar_right);
        toolbar = (Toolbar) findViewById(R.id.toolbar_layout);

        lefttext.setOnClickListener(new OnClickListener() {
            @Override
            public void onClick(View v) {
                leftlistener.onLeftTextClick();
            }
        });

        righttext.setOnClickListener(new OnClickListener() {
            @Override
            public void onClick(View v) {
                rightlistener.onRightTextClick();
            }
        });
    }
使用自定義toolbar,以MainActivity為例,
首先將activity的theme設定為noactionbar,
在佈局中直接加入.
<?xml version="1.0" encoding="utf-8"?>
<RelativeLayout xmlns:android="http://schemas.android.com/apk/res/android"
xmlns:tools="http://schemas.android.com/tools"
android:id="@+id/activity_main"
android:layout_width="match_parent"
android:layout_height="match_parent"
tools:context="com.benhuan.mytoolbardemo.MainActivity">
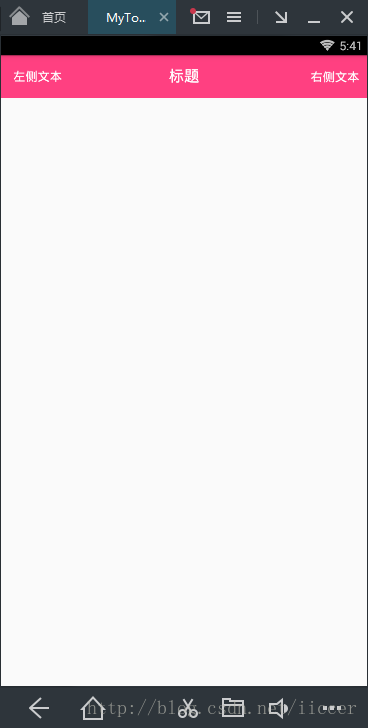
<com.benhuan.mytoolbardemo.CustomToolbar
android:id="@+id/ctoolbar_main"
android:layout_width="match_parent"
android:layout_height="wrap_content" />
</RelativeLayout>可以看到效果了:
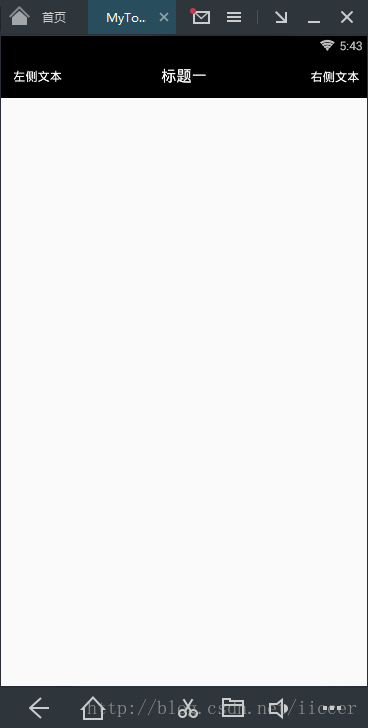
我們想要改變顏色
 private void initToolbar() {


        customToolbar.setToolbarBackgroundColor(R.color.black);
        customToolbar.setToolbarTitle("標題一");

    }
效果:
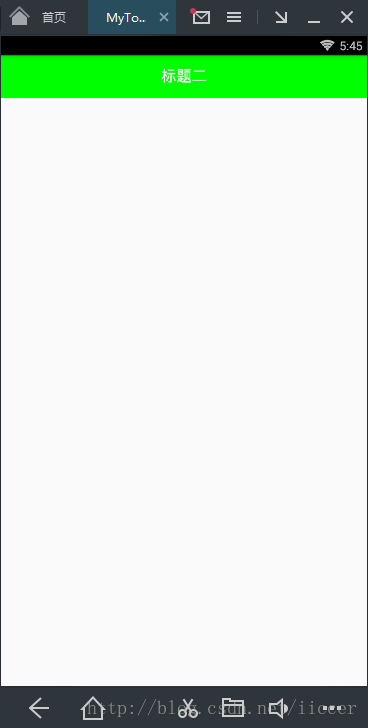
設定只需要標題
private void initToolbar2() {


        customToolbar.setToolbarBackgroundColor(R.color.green);

        customToolbar.setOnlyTitle();

        customToolbar.setToolbarTitle("標題二");

    }
效果:
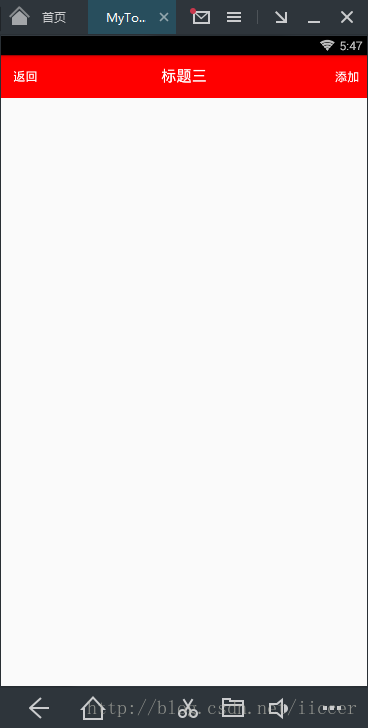
設定點選事件
private void initToolbar3() {


        customToolbar.setToolbarBackgroundColor(R.color.red);

        customToolbar.setToolbarTitle("標題三");

        customToolbar.setLeftText("返回");

        customToolbar.setRightText("新增");

        customToolbar.setOnLeftTextClickListener(new CustomToolbar.OnLeftTextClickListener() {
            @Override
            public void onLeftTextClick() {
                //響應左側文字點選事件
            }
        });

        customToolbar.setOnRightTextClickListener(new CustomToolbar.OnRightTextClickListener() {
            @Override
            public void onRightTextClick() {
                //響應右側文字點選事件
            }
        });

    }
效果:
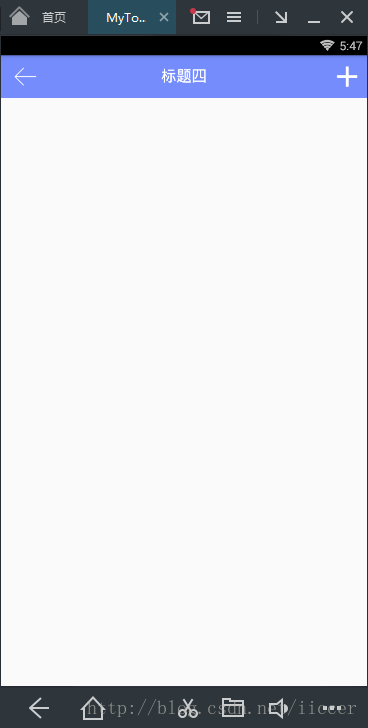
將文字切換成圖片
 private void initToolbar4() {


        customToolbar.setToolbarBackgroundColor(R.color.colorToolbar);

        customToolbar.setToolbarTitle("標題四");

        customToolbar.setLeftImg(R.drawable.arrow);

        customToolbar.setRightImg(R.drawable.add);

    }
效果:
可以看到,使用起來非常簡單,以後遇到特殊情況可以繼續進行擴充套件.
程式碼不多,直接貼出自定義view的原始碼.
package com.benhuan.mytoolbardemo;

import android.content.Context;
import android.graphics.drawable.Drawable;
import android.support.v7.widget.Toolbar;
import android.util.AttributeSet;
import android.view.View;
import android.widget.TextView;

/**
 * Created by XieMinFeng.
 * Date: 2017-03-05
 * Time: 10:14
 * Desc:
 */

public class CustomToolbar extends Toolbar {

    private TextView lefttext;
    private TextView titletext;
    private TextView righttext;

    private Toolbar toolbar;

    OnLeftTextClickListener leftlistener;
    OnRightTextClickListener rightlistener;

    public CustomToolbar(Context context) {
        this(context, null);
    }

    public CustomToolbar(Context context, AttributeSet attrs) {
        this(context, attrs, 0);
    }

    public CustomToolbar(Context context, AttributeSet attrs, int defStyleAttr) {
        super(context, attrs, defStyleAttr);
        inflate(context, R.layout.view_customtoolbar,this);
    }


    @Override
    protected void onFinishInflate() {
        super.onFinishInflate();

        lefttext = (TextView) findViewById(R.id.toolbar_left);
        titletext = (TextView) findViewById(R.id.toolbar_title);
        righttext = (TextView) findViewById(R.id.toolbar_right);
        toolbar = (Toolbar) findViewById(R.id.toolbar_layout);

        lefttext.setOnClickListener(new OnClickListener() {
            @Override
            public void onClick(View v) {
                leftlistener.onLeftTextClick();
            }
        });

        righttext.setOnClickListener(new OnClickListener() {
            @Override
            public void onClick(View v) {
                rightlistener.onRightTextClick();
            }
        });
    }


    public void setToolbarBackgroundColor(int color) {

        toolbar.setBackgroundResource(color);

    }

    /**
     * 設定只顯示標題
     */
    public void setOnlyTitle() {

        lefttext.setVisibility(INVISIBLE);
        righttext.setVisibility(INVISIBLE);
    }

    /**
     * 設定右側不顯示
     */
    public void setNoRightText() {

        righttext.setVisibility(INVISIBLE);
    }


    /**
     * 設定標題
     * @param text
     */
    public void setToolbarTitle(String text) {

        this.setTitle("");
        titletext.setVisibility(View.VISIBLE);
        titletext.setText(text);


    }

    /**
     * 設定左側文字
     * @param text
     */
    public void setLeftText(String text) {

        lefttext.setVisibility(VISIBLE);
        lefttext.setText(text);

        //設定文字則不顯示圖片
        lefttext.setCompoundDrawables(null,null,null,null);

    }

    /**
     * 設定右邊文字
     * @param text
     */
    public void setRightText(String text) {

        righttext.setVisibility(VISIBLE);
        righttext.setText(text);

        //設定文字則不顯示圖片
        righttext.setCompoundDrawables(null,null,null,null);

    }


    /**
     * 設定左側圖片
     * @param id
     */
    public void setLeftImg(int id) {

        Drawable drawable = getResources().getDrawable(id);

        drawable.setBounds(0, 0, drawable.getMinimumWidth(), drawable.getMinimumHeight());

        //設定圖片則不顯示文字
        lefttext.setText("");

        lefttext.setCompoundDrawables(drawable,null,null,null);


    }


    /**
     * 設定右側圖片
     * @param id
     */
    public void setRightImg(int id) {

        Drawable drawable = getResources().getDrawable(id);

        drawable.setBounds(0, 0, drawable.getMinimumWidth(), drawable.getMinimumHeight());

        //設定圖片則不顯示文字
        righttext.setText("");
        righttext.setCompoundDrawables(null,null,drawable,null);

    }

    //左側文本回調介面
    public interface OnLeftTextClickListener {
        void onLeftTextClick();
    }

    /**
     * 設定左側文本回調
     * @param listener
     */
    public void setOnLeftTextClickListener(OnLeftTextClickListener listener) {
        this.leftlistener = listener;
    }

    //右側文本回調介面
    public interface OnRightTextClickListener {
        void onRightTextClick();
    }

    /**
     * 設定右側文本回調
     * @param litener
     */
    public void setOnRightTextClickListener(OnRightTextClickListener litener) {
        this.rightlistener = litener;
    }

    /**
     * 設定返回圖片
     * @param id 圖片的id
     */
    public void setbackIcon(int id) {

        this.setNavigationIcon(id);

        lefttext.setVisibility(GONE);
        //左側文字不設定draw
        lefttext.setCompoundDrawables(null,null,null,null);

        this.setNavigationOnClickListener(new OnClickListener() {
            @Override
            public void onClick(View v) {

            }
        });

    }

}